I figured CAS Tools is pretty complicated and I was probably not using it to its full potential, so I went back to look at it some more today. It turns out that 1. Blender is capable of retaining vertex number data, and 2. CAS Tools is capable of making replacement heads that work with in-game presets!!!
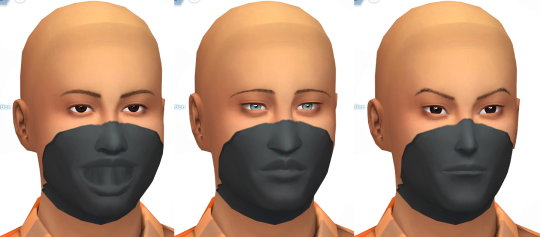
All I have to do now is fix up the mesh and clean up the texture. This is a replacement head that has the lips fused together with new geometry and is lacking a mouthbag (sorry for kinda creepy pictures).
In case anyone wants to try their hand at making a replacement head, here is what I did (might not be the most efficient way though):
1. Get CAS Tools from
here.
2. Under Cloning Tool, find the base game head. Click Clone Game CAS parts, wait for it to think a little bit, then select Human>Male/Female>whatever age group>Head. Select the first one on the list that has at least 1 part for each LOD.
3. Clone! Then open the package in the Clone Package Editor tab. I deleted the second part of LOD0 because that's the mouthbag and in my case I'm not using it. Save the package and close it.
4. Get Morph Maker from
here.
5. Under the Create BGEO tab, select the type of sim, leave the UV on 0, and export OBJ. This spits out a .obj file that contains LODs 0-3 stacked on top of each other. I imported this into Blender 2.78. According to the creator of these tools, you need Blender 2.75+. You can find more information
here about what settings to use to import/export. "If using Blender, import the morph OBJ with these options: Split selected: Object checked, Group checked."
6. Edit your mesh. Make sure that if you are adding new faces, they are split into tris. Polys seem to get destroyed, probably on export to .obj.
7. Delete any extra LOD models you aren't intending to place into the package at the moment, or just make sure you're only exporting the one you want to place into the package.
8. Export out of Blender to .obj. See link above but the creator said, "If using Blender, export the OBJ as a new file with these options checked: Write Normals, Include UVs, Objects as OBJ Groups, Keep Vertex Order."
9. Go back to CAS Tools and click the Mesh Tools tab. Select your new .obj. This step converts the .obj into a simgeom file, which is the only way you can place a mesh with additional geometry into the CAS Tools package. If you didn't add or take away any geometry, you could probably use Morph Maker to just make a morph/preset. I used these settings:
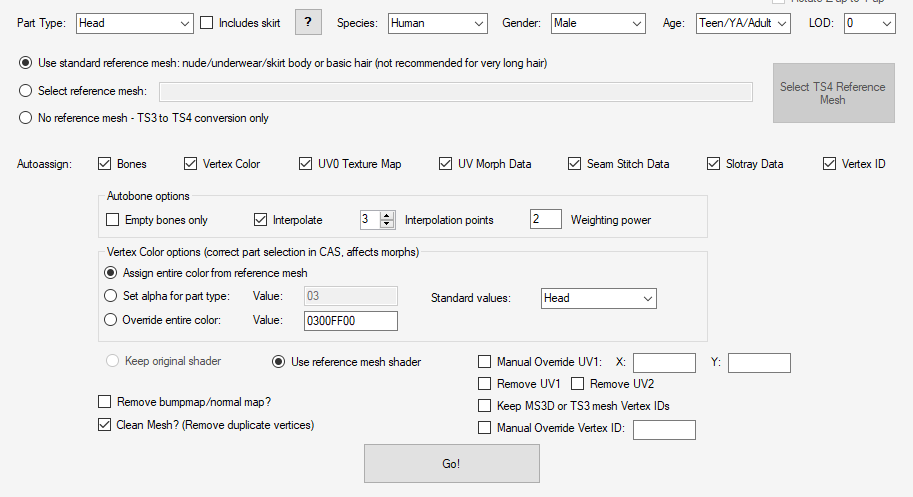
10. Press Go! and wait for it to spit out your simgeom. If you get an error notice at this step, something probably went wrong i.e. you exported all 4 LOD models into the same file like me. It will still try to make you a file though (even if you cancel it...).
11. Open your package in CAS Tools and replace the appropriate LOD with your simgeom. Save and close the package.
12. I took it into S4S at this step because I'm way more comfortable in S4S. Here I did basic stuff like attach textures, assign thumbnails, etc. I made my replacement a skin detail.
13. Test in game! And don't forget to do the other LODs too.
Thank you very much
fallingsim for pointing me in the right direction!


 It seems I am moving in the right direction now, I will share the result.